In this tutorial we will continue where we left off in the first tutorial. The aim of this tutorial is to focus a bit on the graphical layout of our presentation and work with the animation system a bit more. We will also add a background to our presentation by creating a separate layer that holds the background.
Lets continue upon the project we started in tutorial 1.
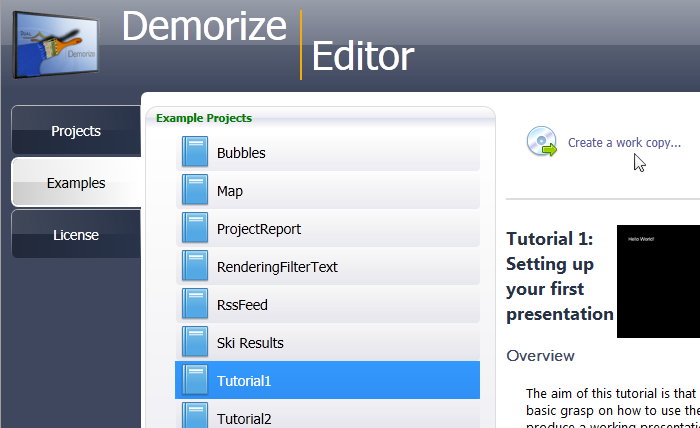
If you have not completed tutorial 1, the project workspace for the first tutorial is supplied as an example with the installation of the Demorize Editor. Create a work copy of Tutorial1 and load it into the Demorize Editor.
If you completed the first tutorial yourself you can continue by loading that project workspace.
When the project is loaded you will not see the text object in the Screen view. This is because the cursor on the timeline is at time 00:00:00, where our text is outside of the screen due to our animation.
We are now going to go a bit deeper into the animation system in order to improve the look of our Hello World text. What we are going to do is to center the text object on the screen and make it appear and disappear more nicely.
The first step is to center the text on the screen. Since we have added an effect to the object on the timeline that controls the position of the object over time, we can not just move the text object in the Screen view. If you just move the object in the Screen view, the object would still pop in place according to the previous animation if we move the timeline cursor on the timeline. What we have to do is instead change the values of the key frames that are set for the slide in animation effect.
On the timeline, click on the + button on the yellow timeline object and then click on the + button on the black timeline object that represents the slide in effect. You will now see that there is a light-blue half arrow at the far right of the slide in effect.
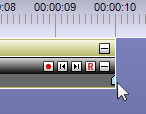
This arrow represents a key frame for the animation. The key frame can contain the state of multiple properties of an object, so we are not going to edit these values by hand but rather through sampling the state of the object's properties.
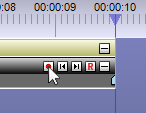
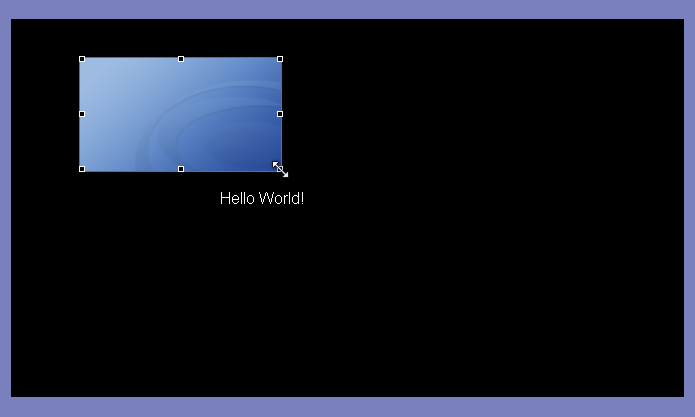
Press the forward button  on the slide in effect. This places the timeline cursor at the next key frame time, i.e. our key frame for the end of the slide-in animation. Now move the text object in the Screen view to a more centered location on the screen. We are now going to sample the properties of the text object and save those in the key frame for the slide in effect. This is done by clicking on the red record button of the slide in effect on the timeline.
Move the timeline cursor back and forth on the timeline and you will now notice that the animation has been changed to move the text from the edge of the screen to the new location.
The slide in animation now looks good, but the text still pops away after ten seconds. It would look much better if the text would slide out in the same way that it slided in. This is exactly what we are going to do now.
First we have to shorten the length of the Slide From Left effect so that it does not take the entire time span of the text object's visibility time. This is done by moving your mouse cursor to the right edge of the black area that represents the Slide From Left effect on the timeline. The cursor will now change into a sizing cursor and you can now press the left mouse button and drag to the left to around 00:00:04 on the timeline.

Now place the timeline cursor at around 00:00:06 and right-click on the yellow timeline object and select ؛ ؛ in the context menu.
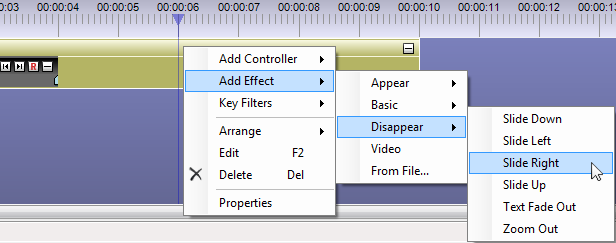
The new timeline effect will cover the entire time span of the text object so we have to move the left edge of the Slide Right effect to around 00:00:06.

The reason why we placed the timeline cursor at 00:00:06 before we added the Slide Right effect was that we wanted the text object to have the correct property values before we added the new effect. The effect samples the properties as they currently are set when it is first created. Since we want the text object to slide from its centered position, we needed it to be located at the centered position before we added the slide out effect.
We are now going to take a look at one aspect of the scenes that will help you in the construction of presentations, namely the layer composition functionality. This allows you to place layers on top of each other when they are presented by the player software.
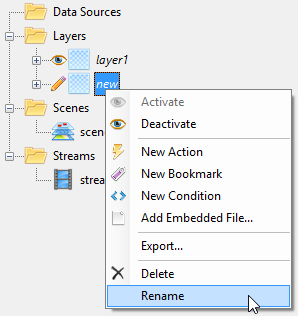
First we need to design another scene layer that will act as a background behind our text. We place this background in another layer so that it can be reused with different content on top of it in the future. Add a new layer to the project and name it "background".
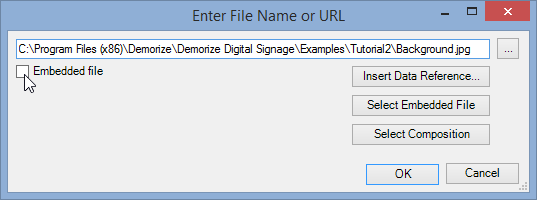
Now insert an Image object to your layer and select the Background.jpg image file that you will find in the Tutorial2 folder in the installation folder of Demorize (usually C:\Program Files (x86)\Demorize\Demorize Digital Signage\Examples\Tutorial2). Check the checkbox in order to embed the image into the project workspace. This will make a local copy of the image file and store it along with the layer data. This is useful if you want to distribute you presentation to clients that do not have access to your files. Embedded files are distributed along with the rest of the presentation.
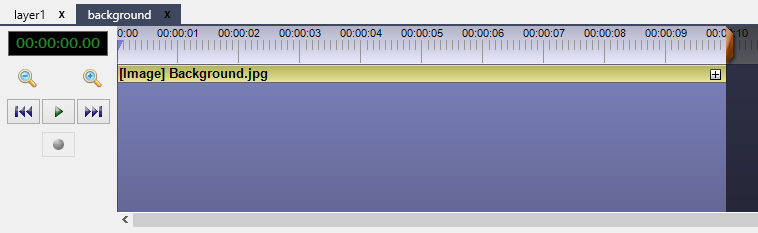
Notice how the image object is added to the timeline for the background layer that is currently shown in the timeline view. This is important to have in mind when you insert new objects since you want your objects to end up in the correct layer. Multiple layers can be active at the same time in the Screen view but new objects are inserted in the layer that has its timeline on top in the timeline view.
Go to the Screen view and scale the image to fit the entire screen area.
If you do not see the entire screen area you may have to either change the application window size or zoom the screen area, which is done with the zoom buttons below the Screen view.

We are now going to make use of our new background layer by changing the scene that we created in the first tutorial. Open the properties for the scene named scene1. Add the new background layer as a layer in the composition list. Make sure that the background layer is placed at the bottom of the list to make it appear behind the first layer.
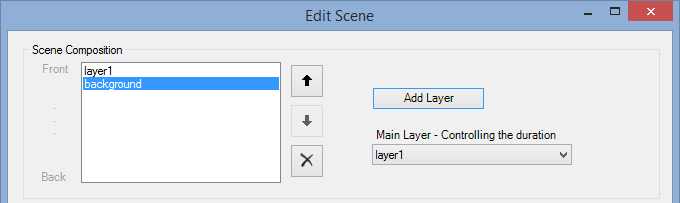
You can reorder the layers with the arrow buttons at the right of the list box.
Close the dialog and then save your project.
You are now done with the second tutorial and is ready to view the result in the Demorize Player.
Launch the Demorize Player from the stream context menu to view the new and improved presentation.
You are now ready to jump to the next tutorial in Chapter 12, Tutorial 3: Dynamic data sources, which will teach you how to display dynamic information in text objects with content from an RSS feed on the Internet.